 How-to
Heat Exchanger Inspection: 7 Steps HVAC Pros Use
Last Updated: November 14, 2026
Quick Summary
A proper heat exchanger inspection follows seven steps: visually examine for cracks, corrosion, and rust; check seams, joints, and seals; observe burner flame patterns and disturbance; inspect while the furnace operates; test with a combustion analyzer; watch for oil furnace symptoms; and know when to call a professional. Run the furnace to steady state before analyzer readings mean anything, and shut down the unit if you find visible cracks, soot in supply registers, or rising ambient CO.
- The heat exchanger sits inside the cabinet between the burner assembly and the supply-air blower.
- Cracks often start at bends, corners, and weld joints where the metal flexes.
- A healthy flame stays stable when the circulating air blower kicks on.
- Run the burner 10 to 15 minutes to steady state before taking analyzer readings.
- Shut down and tag the unit if you find visible cracks, soot in registers, or elevated CO.
Table of Contents
- Where Is the Heat Exchanger on a Furnace?
- What You'll Need Before Starting a Heat Exchanger Inspection
- Step 1: Visual Examination for Cracks, Corrosion, and Rust
- Step 2: Check Seams, Joints, and Seals
- Step 3: Observe Burner Flame Patterns and Disturbance
- Step 4: Inspect the Heat Exchanger While the Furnace Operates
- How to Check for a Cracked Heat Exchanger With a Combustion Analyzer
- Oil Furnace Cracked Heat Exchanger Symptoms
- When to Call a Professional
- Frequently Asked Questions
Where Is the Heat Exchanger on a Furnace?
The heat exchanger on a furnace sits inside the cabinet, between the burner assembly and the supply-air blower. Readers new to furnace components can build core heating concepts with this beginner HVAC prep guide.
That separation is the whole point. The metal wall keeps combustion gas away from the air you breathe. A crack, rust hole, or failed seam breaks that barrier.
Most furnaces hide the exchanger behind an access panel on the burner side. On upflow models, it sits above the burners.
This guide from Bulletproof Test Prep covers the seven steps technicians use during a heat exchanger inspection. We built it for home inspector candidates studying the heating portion of the national exam, and for anyone who wants to understand what a proper inspection looks like.
Here is the core tension: the steps are simple to list and hard to perform well. Access limits, model differences, and test limits trip up more inspectors than the visual check itself.
What You'll Need Before Starting a Heat Exchanger Inspection
Gather your tools before you open the cabinet. Stopping mid-inspection to hunt for a mirror wastes time and breaks your sequence.
A basic kit includes:
- Flashlight with a focused beam
- Inspection mirror on an extendable handle
- Flexible inspection camera for tight cells
- Combustion analyzer with a CO sensor
- Ambient carbon monoxide meter
- Screwdriver set and nut drivers
- Camera or phone for documentation
- Manufacturer service literature for the model
Add a notepad or tablet for baseline readings. Recording what you measure matters as much as measuring it.
If you are still building your HVAC knowledge, start with study methods that help technical concepts stick before you practice the steps. Our guide on study methods for learning HVAC covers techniques built for exactly this kind of material.
One common mistake: opening the cabinet before noting the model and serial number. You will want that data for the service literature, and the label is often easier to read before you move anything.
Step 1: Visual Examination for Cracks, Corrosion, and Rust
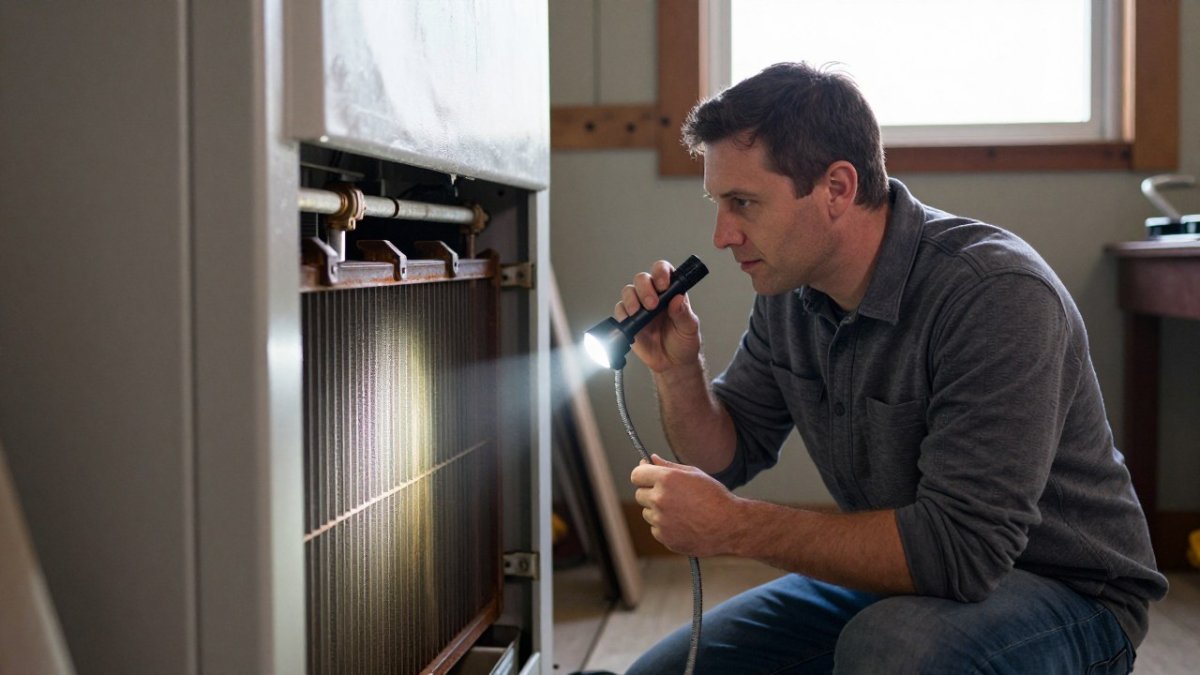
Start with your eyes and a strong light. A visual examination looks for cracks, corrosion, rust, and discoloration on every visible surface of the exchanger.
Work methodically. Trace each tube or cell from the burner end toward the flue outlet. Look for:
- Hairline cracks near welds and bends
- Rust scale or pitting on the metal
- Discoloration that suggests overheating
- Soot streaks that point to a breach
- Erosion where flue gas moves fastest
Cracks often start where the metal flexes. Bends, corners, and weld joints are prime suspects. Rust tends to collect where condensation forms, usually near the cooler end of the exchanger.
A common mistake is checking only the front face.
What most guides miss: discoloration alone is not proof of failure. It tells you where to look harder. Record what you see and where you see it.
Step 2: Check Seams, Joints, and Seals
Seams and joints are where sections of the exchanger meet. They flex as the metal heats and cools, so they fail sooner than flat panels.
Run your light along each seam. Then check the same line with a mirror. A seam that looks tight from one angle can show a gap from another.
Check these areas first:
- The expansion joint where sections connect
- Gasket seals at the flue collar
- Joints between cells in a tubular exchanger
- The seal at the blower deck
A failed seal lets flue gas mix with supply air, even when the metal itself is sound. That is a safety issue, not a cosmetic one.
Watch out: a clean-looking seam can still leak. Seals fail from the inside out, so the outer edge often looks fine while the joint has already opened.
Step 3: Observe Burner Flame Patterns and Disturbance
Flame behavior tells you what the metal is doing. A steady blue flame with a crisp shape suggests normal combustion. A lazy, yellow, or dancing flame hints at a problem.
Watch the flame for a full minute. Then watch what happens when the circulating air blower starts.
A healthy flame stays stable when the blower kicks on. If the flame flutters, pulls toward the exchanger, or changes color when airflow increases, the exchanger may be leaking.
Signs to record:
- Flame roll-out at the burner
- Yellow tipping or lifting
- Flame pulled into the exchanger
- Uneven flame height across the burner
Flame disturbance is a clue, not a verdict. It points you toward a closer look with a camera or analyzer. A disturbed flame is a reason to stop and confirm before calling it.
Step 4: Inspect the Heat Exchanger While the Furnace Operates
Running the furnace lets you inspect under real operating conditions. Heat and airflow open cracks that stay closed on a cold unit.
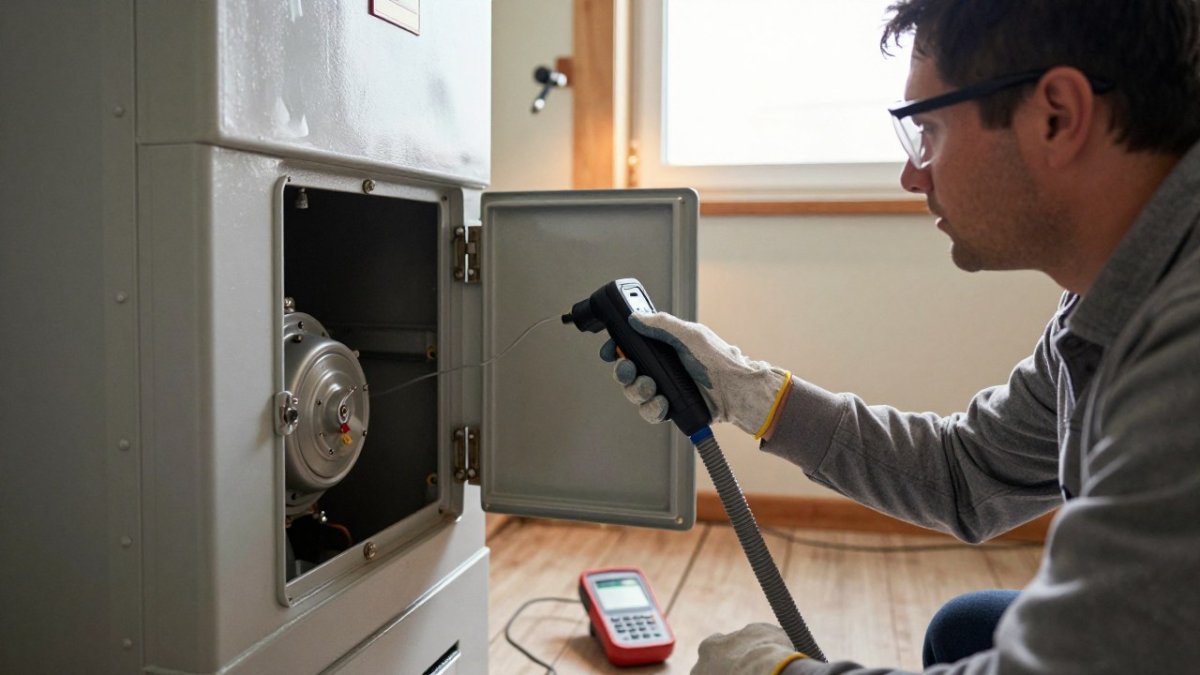
Use an inspection port, mirror, or flexible camera to view the internal surface while the burner runs. Compare what you see now to what you saw cold.
What changes when the unit is hot:
- Cracks can open wider as metal expands
- Condensation clears, so surfaces read more clearly
- Flame disturbance shows up in real time
- CO readings become meaningful
If you want to go deeper on the heating topics this step touches, our master set of NHIE HVAC questions walks through the concepts behind furnace operation and inspection.
Safety boundary: homeowners should not open a furnace cabinet or run the unit with panels off. This step belongs to qualified technicians with the right meters and training.
How to Check for a Cracked Heat Exchanger With a Combustion Analyzer
A combustion analyzer measures flue gas and ambient carbon monoxide. It confirms what your eyes suspect, and it catches breaches you cannot see.
Set up valid conditions first.
The sequence matters. Test before and after the circulating air blower starts, and repeat the same sequence at the same sample point every visit.
- Drill a sample port in the flue, following the analyzer manufacturer's guidance for distance from the outlet and from any elbow.
- Run the burner to steady state and confirm stable stack temperature.
- Record flue CO, oxygen, carbon dioxide, and stack temperature at the sample port.
- Start the circulating air blower and watch for a change in flue readings.
- Sample ambient CO near the supply registers, in the room, and in the return-air path.
- Record the operating conditions, outdoor temperature, return-air temperature, and blower speed, alongside the numbers.
A rise in ambient CO when the blower runs is a red flag.
Interpretation needs context.
Watch out: false positives are common when the sample port is too close to an elbow, when the analyzer has not been zeroed in fresh air, or when the test is run before steady state. Because a confirmed reading is only one part of preventing unsafe operation, Anthony & Son Indoor Air Quality, LLC connects careful inspection with the routine checks that help keep HVAC systems in sound condition.
Record baseline results every visit.
Safety boundary: homeowners should not drill sample ports, open the flue, or run a furnace with panels off.
The analyzer sequence follows a fixed order so readings stay comparable from visit to visit.
| Step | What to do | Note |
|---|---|---|
| 1 | Drill a sample port in the flue | Follow analyzer maker's guidance on distance |
| 2 | Run burner to steady state | Confirm stable stack temperature |
| 3 | Record flue CO, oxygen, CO2, stack temperature | Take readings at the sample port |
| 4 | Start circulating air blower | Watch for a change in flue readings |
| 5 | Sample ambient CO | Near supply registers, in room, return-air path |
| 6 | Record operating conditions | Outdoor temp, return-air temp, blower speed |
Oil Furnace Cracked Heat Exchanger Symptoms
Oil furnaces fail differently from gas units. The flame is longer, soot is common, and the exchanger often shows a distinct set of symptoms.
Look for:
- Soot streaks or puff-backs around the burner
- A smoky odor in the supply air
- Rust or scale on the exchanger drum
- Flame disturbance when the blower starts
- Rising ambient CO near registers
An oil furnace with a cracked exchanger often pushes soot into the supply air. You may find black marks at the registers or filter. That is a strong signal, but confirm it with a camera and analyzer before you call it.
The inspection procedure is the same seven steps. The symptoms just look different on an oil unit, and soot gives you an early clue about where to aim your light.
When to Call a Professional
Any suspected breach in the heat exchanger is a call for a licensed HVAC technician. That includes cracks, failed seams, soot in the supply air, and rising CO readings.
Stop the inspection and shut down the unit if you find:
- Visible cracks or holes
- Soot in the supply registers
- Ambient CO above the meter's alarm point
- Flame roll-out that repeats
A practical response flow looks like this:
- Shut down and tag the unit. Turn off the gas or oil supply at the shutoff valve and note the time. If CO is elevated in the living space, ventilate and get occupants out before anything else.
- Document the finding. Record the model and serial number, the test conditions, every reading, and photos or video of the suspect area. Note where the camera could not see.
- Communicate clearly. Tell the homeowner what you found, what it means, and what not to do, no restarting, no "just this once" heating. Put it in writing.
- Hand off to a qualified technician. The technician confirms with a camera, pressure test, or combustion analysis, then evaluates repair versus replacement.
Repair-versus-replacement is a technician and homeowner decision, not an inspector's call. A single accessible crack in an older exchanger often points toward replacement because the metal has usually degraded elsewhere.
Follow-up testing matters. After any repair or replacement, the technician should repeat the combustion analysis and ambient CO test under the same conditions as the original finding.
Watch out: a homeowner who hears "suspected crack" may keep running the furnace because the house is cold.
For inspector candidates, this is also an exam lesson.
Frequently Asked Questions
What is the procedure for inspecting a heat exchanger?
A standard heat exchanger inspection runs in sequence: isolate power and fuel, open access panels, perform a visual examination for cracks, corrosion, rust, and discoloration, check seams, joints, and seals, observe burner flame patterns, inspect the heat exchanger while the furnace operates, then run combustion analysis and ambient carbon monoxide testing. Record every reading and photograph defects before reassembling the unit.
Can a visual inspection confirm that a heat exchanger is cracked?
Visual inspection is the first line of defense but cannot confirm every crack. Hairline cracks in the internal surface, expansion joints, or rear sections often hide behind bends and require mirrors, inspection ports, or a camera. A clean visual pass plus normal combustion readings lowers the odds of a missed defect, but neither test alone proves the heat exchanger is sound. Document what you could and could not see.
What should a home inspector do if a heat exchanger cannot be fully inspected?
Note the limitation in the report, describe the access constraints, and recommend evaluation by a qualified HVAC technician. Never state the heat exchanger is intact when portions were inaccessible. Include the reason (sealed cabinet, no inspection port, blocked view) and any secondary indicators such as flame disturbance or elevated carbon monoxide readings so the technician knows what to check first.
How should a suspected heat exchanger defect be documented?
Record the location, size, and appearance of the suspected defect, attach photographs, and note the furnace operating condition at the time. Include combustion analyzer readings and ambient carbon monoxide levels if measured. State clearly that the finding is suspected, not confirmed, unless you directly observed a crack or hole. Recommend further evaluation by a licensed HVAC technician and advise the homeowner on immediate safety steps.